Digestive System Demonstration

For our homeschool science fair my seven year old son’s topic was the human digestive system. He is a hands-on learner so I wanted him to have a physical demonstration to present. I wanted a demonstration he could do with very little help from me and explain to an audience. I’m happy to say that after several trials and adjustments at home his presentation at the science fair this week was a success!
Demonstrating the Steps of Digestion:
Want to show your kids the wonders of digestion? This demonstration was great in front of a group of kids, but simple enough to do at home, too. I am pretty sure my kids won’t forget the steps of the digestive process after this.
Supplies:
- small dish (large enough to use masher in)
- peanut butter sandwich
- small amount of water
- 1/2 cup milk
- scissors
- masher
- funnel (optional)
- quart size Ziploc bag
- Coke
- knee high pantyhose, or a leg cut off of child’s tights
- large bowl or basin
- tray with paper towels
Step 1: Explain that the small dish is like your mouth. Begin to cut the sandwich into bite-size pieces, explaining that the scissors are acting like your front teeth, which are designed for cutting.
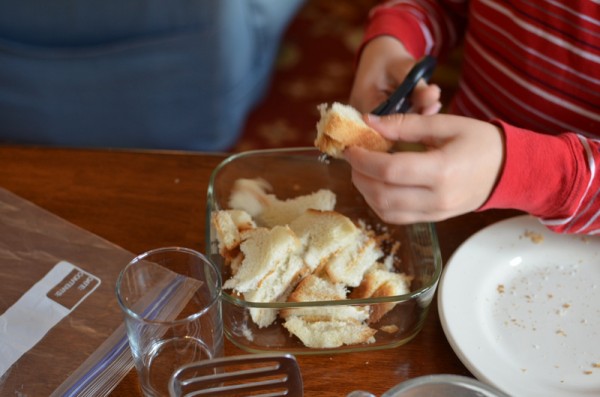
Step 2: Pour in a small amount of water. This is the spit. (Expect giggles here.)
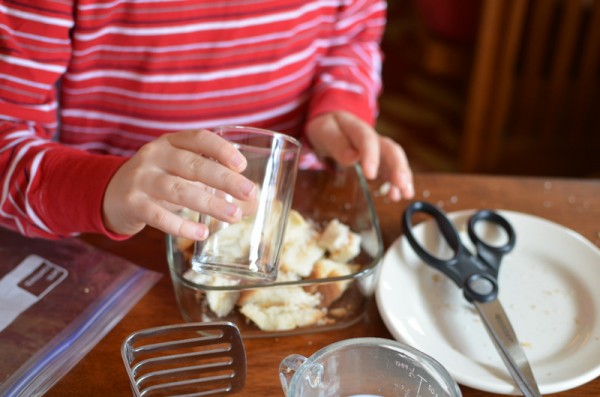
Step 3: Add about a half cup of milk. Peanut butter sandwiches can be a bit dry, you know.
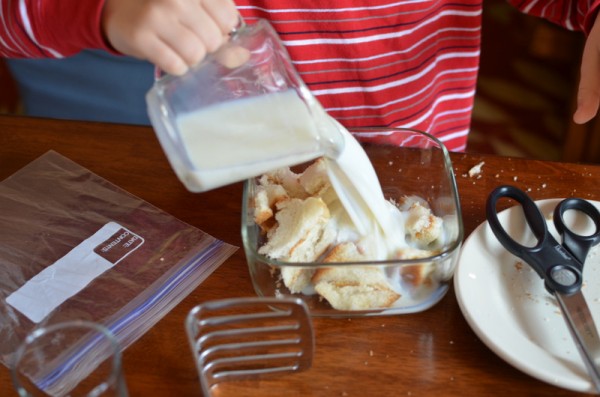
Step 4: Use the masher to mash the food and drink, explaining that the masher is like your back teeth which are designed for grinding up the food.
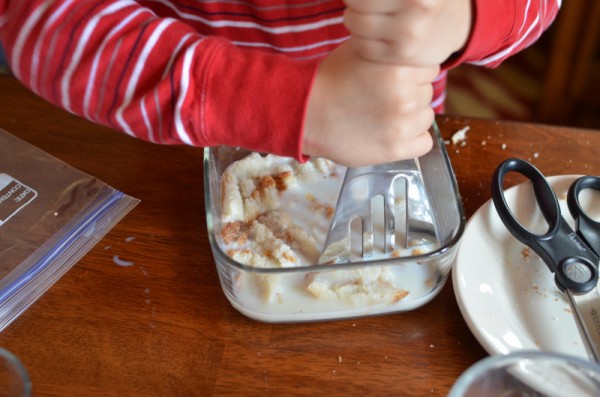
Step 5: Once the sandwich and milk resemble slop, empty it into the quart size bag which you can explain is like the stomach. You may dump it directly in the bag, or through a wide-mouth funnel to stand in as the esophagus. This process required an extra set of hands, thus a lack of photos for this step!
Step 6: Add a little Coke. Explain that the stomach has chemicals (acids) that break down the food. [Note: Saliva also works on food break down as do other enzymes and bile added in the small intestine–given the age of my son I kept it simple. You could certainly add a little green food coloring and talk about the liver, gallbladder and bile…then there’s the pancreas…]
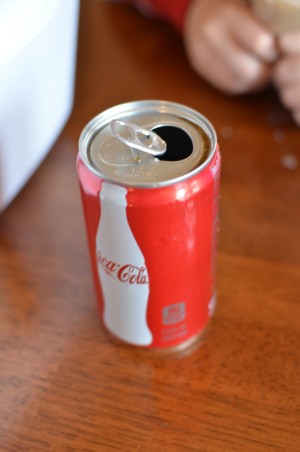
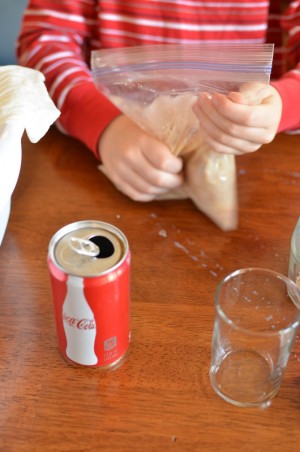
Step 7: Using your hands mix the food and Coke in the bag. Explain how your hands are working like the muscles in the wall of the stomach mixing and churning this slurry. This is when it starts looking a little gross. (Depending on your audience you could pause here and mention the process of vomiting.)
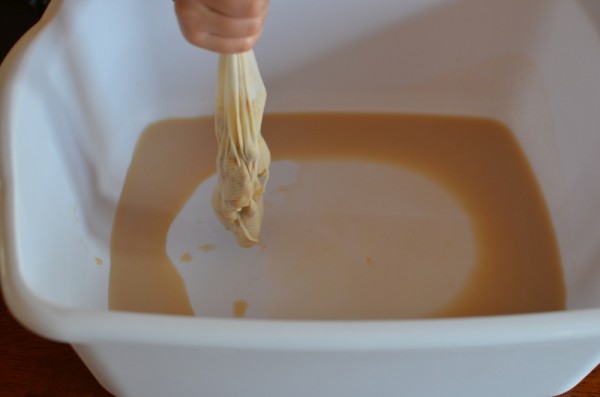
Step 8: Now the food is ready for the small intestine. Have your basin ready and pour your slurry into the nylon. Liquid will leak out through the material. You can explain that the fluid is like nutrients your body is removing from the food in the small intestine. Feel free to squeeze a little for effect.
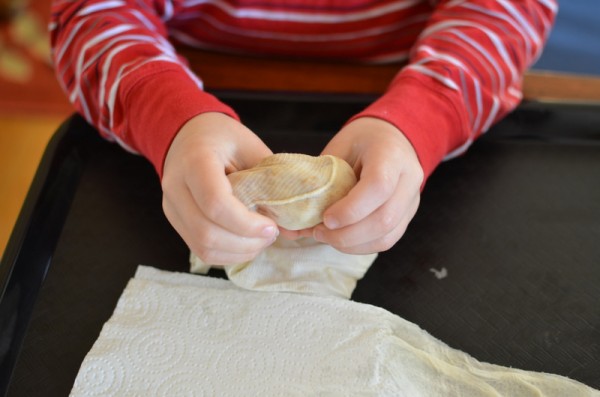
Step 9: Now for the large intestine. You could squeeze the food into a second nylon, but we just stuck with one and explained that the food was now moving into the large intestine. Lay the nylon on multiple paper towels layers and roll it up tightly, squeezing and patting as you go. Explain that our body takes all the available water out of the food that remains in the large intestine.
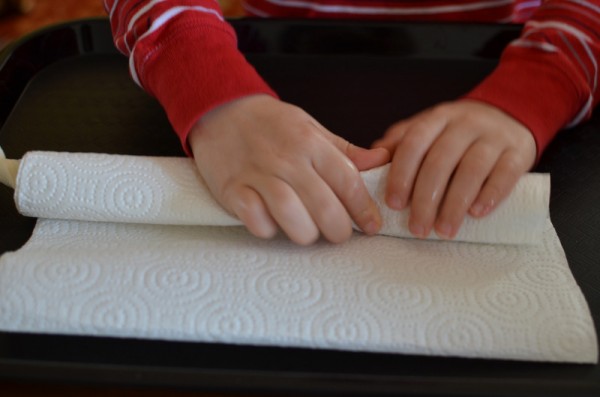
Step 10: That’s where we left it at science fair. We’re pretty relaxed around our house, especially in the name of science discussion. But I didn’t want to offend any other families so we chose our words carefully and left the “remains” in the nylons with a simple explanation that the next step would be the toilet. (You can cut a small hole in the nylon and demonstrate the working of the anal sphincter if you want to get technical.)
These are a couple of the websites and videos that gave me ideas to try: Teaching in Room 6, and this Squidoo lens.
In addition to demonstrating the steps in the digestive process we added two other hands-on components that were so simple yet illustrated so much.
Demonstrating Peristalsis:
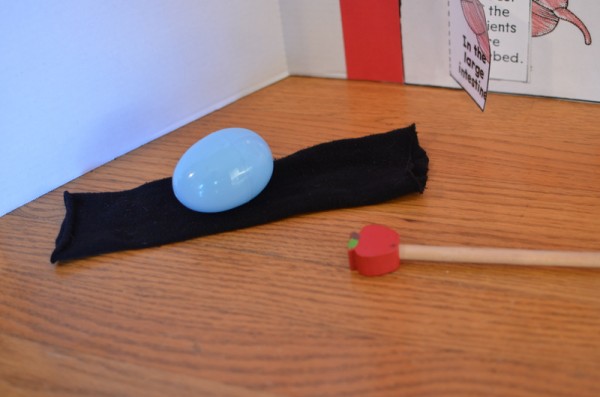
How does food move through the digestive system? It’s simple to demonstrate. Take a section of nylons or tights open at both ends and a smooth round object. I used my 10-year old daughter’s tights and one of the large plastic Easter eggs. Hold the section of tights up with the round item in it, showing that gravity is not forcing the egg through the tights. Using your hands you can demonstrate the contraction of muscles that pushes the food through.
Visualizing the length of the digestive system:
This one really floors the kids. The idea for this demonstration came from a combination of one of the hands-on labs included in our Real Science Odyssey Life Level One curriculum (a good example of the simple activities that curriculum includes for hands-on learning) and the Science Matters blog. We cut various strings and yarns to the length of the actual organs in the digestive system. I liked the idea of making each item a different color or thickness to more clearly show the relative sizes. This is an easy one to just use what you have (rope, yarn, string, twine, flexible tubing, even a bag or bottle for the stomach if you’d like) to demonstrate the true-to-life measurements of a child’s digestive system. My son LOVED unrolling this one at the science fair.
- mouth (3 inches)
- esophagus (10 inches)
- stomach (6 inches)
- small intestine (15 feet)
- large intestine (4 feet)
Trust me, everyone’s eyes get big when you unroll the rope and tell them that their digestive system is that long, all coiled up inside their body.
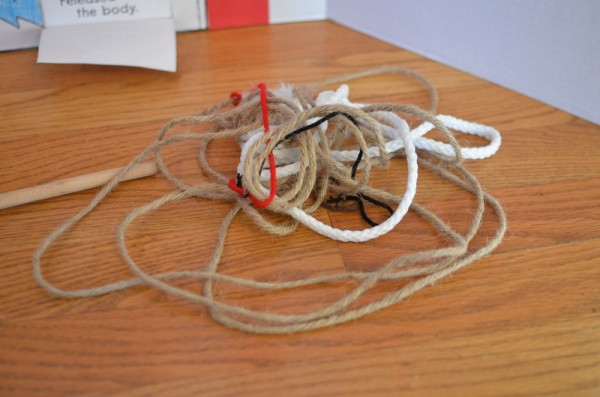
*Note: if you like using accurate vocabulary, this was a great way to also demonstrate the difference between the small intestine and large intestine. I used a thin rope for the small intestine and a thick rope for the large. It helped my son understand (and then explain to others) that the small intestine is actually much longer than the large intestine, but is smaller in diameter.
Resources:
Other than the specific resources I listed already, these are the books and other things we used to learn all about the digestive system.
Magic School Bus Human Body: I love this DVD, and in the episode called “For Lunch” the bus travels through Arnold’s digestive system.
Easy Make and Learn Projects: Human Body has a terrific digestive system poster with flaps. We blew this up and used it as our display at science fair.
Blood and Guts: This book has fun-to-read explanations and a lot of hands-on demonstrations and experiments for the entire body.
Kidshealth.org has a short video on the process of digestion.
Have fun with hands-on learning about the digestive system!
 Hi, I'm Heidi and I homeschool my two sweet kids. I want them to know that learning is an exciting lifelong adventure! We love great books, unit studies, notebooking, lapbooking, and hands-on learning.

