Making Pysanky(ish) Eggs With Kids
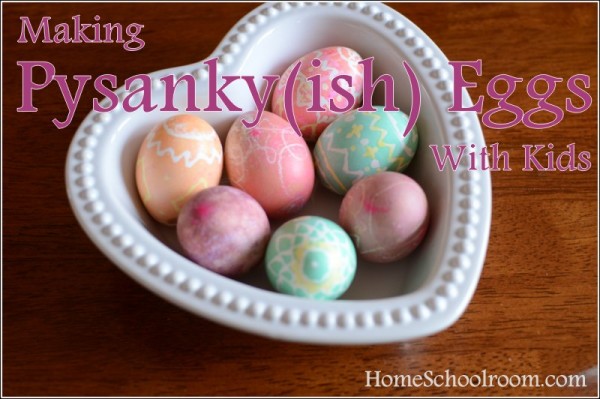
Like most children, mine love the yearly tradition of dying Easter eggs. Since being inspired a couple years ago by the beautiful Pysanky eggs made by Babushka in the book Rechenka’s Eggs we wanted to step up our decorating methods. Luckily I found methods that are child-friendly and don’t require special equipment.
We’ve used two different techniques: one is a bit easier and suited to younger children, and the other is more precise, takes longer, and is better suited to older children (or moms!) who enjoy the more detail-oriented process.
I’ll explain the steps for the more difficult process…stay tuned to the end for how to simplify for younger children.
A Child-Friendly Pysanky Egg Using Melted Wax
This technique uses melted wax as a dye resist, much like traditional Pysanky.
1. Melt wax to use as a resist for the dye. I used a tea light wax melter to melt another tea light with the wick and metal case removed.
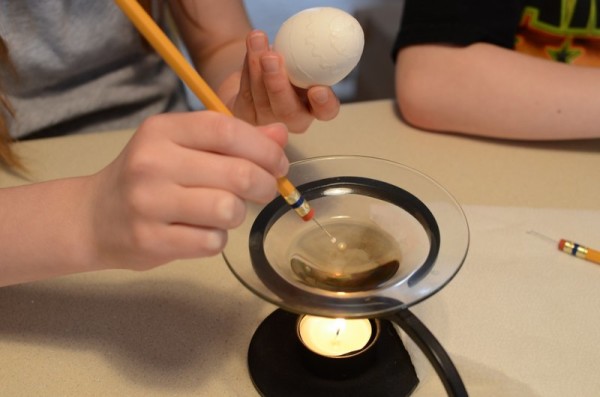
2. After the wax melts use a tool to apply wax to the egg. We made our own tools by sticking a sewing pin into a pencil eraser. Applying the wax this way is a slow process requiring frequent dipping of the tool into the wax. Starting with a plain egg, wherever you add wax will remain white.
3. Dye the egg, taking care to start with lighter colors. In this case my daughter started with yellow.
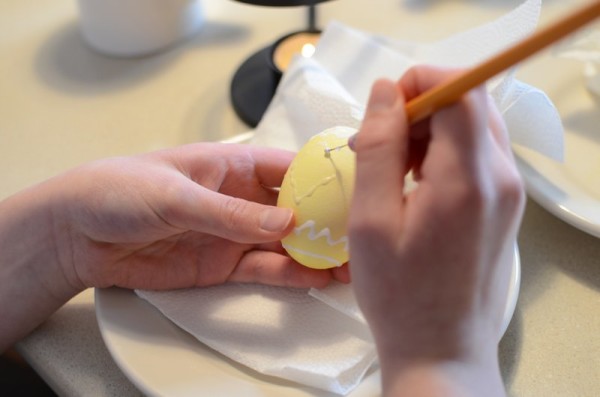
4. Add more wax before dying again. This time the wax will protect the lighter dye from being covered over with darker colors. You can repeat the process of applying wax then dying a few times, moving from lighter to darker colors.
5. When finished remove the wax. It’s a tricky process involving an open flame, so I did this part for my children. I warmed the egg over the flame, being careful not to burn myself or make a burnt spot on the egg, then wiped with a paper towel.
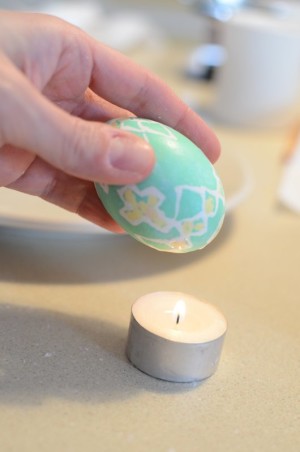
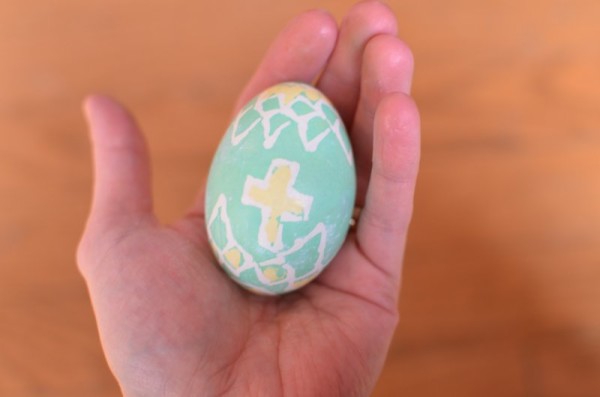
At the end you have a beautiful egg with layers of color and pattern, reminiscent of the beautiful Pysanky eggs!
Simplified Version using a Wax Crayon
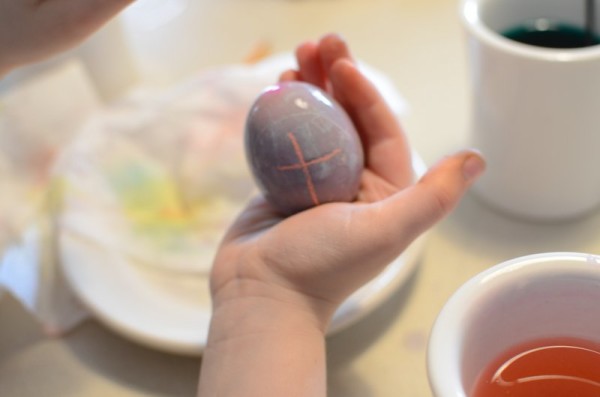
This technique is perfect for younger children because it is not much more complicated than dipping in one color and does not involve hot wax. Simply use a white wax crayon (they come with many egg dye kits) to draw patterns on the egg. The wax crayon will protect areas from accepting dye just like the melted wax.
Be sure your child presses down carefully with the crayon to apply a thick layer of wax. Obviously you can’t get the fine details with the crayon, but it still allows for creativity and layers of color.
Removing the wax is easier: just wipe down the egg with a paper towel.
In addition to being very proud of our finished eggs, I appreciate how these techniques encourage my children to slow down and focus on the process. Each year we look forward to a relaxing afternoon during the Easter season making just a few eggs, instead of dying a dozen without particular attention to an individual egg.
 Hi, I'm Heidi and I homeschool my two sweet kids. I want them to know that learning is an exciting lifelong adventure! We love great books, unit studies, notebooking, lapbooking, and hands-on learning.

