Trying a Trio of Pinterest Projects
Pinterest is a very helpful tool and has replaced my browser’s bookmarks as a way to save projects for later. The photos make it so much easier to scan through my links. We thought it would be fun to have a little Pinterest Challenge at iHomeschool Network to encourage us to complete some of those pretty pins.
Here are three projects I gave a whirl: one complete success, one that required a little tweaking to be successful, and then one that hasn’t succeeded fully–but I’m not giving up!
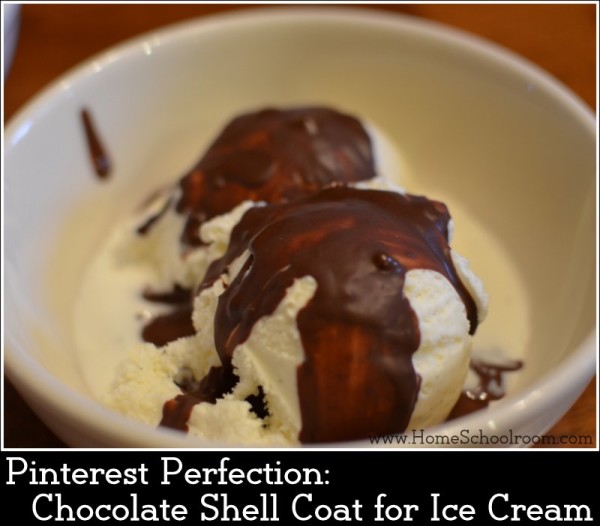
Project #1: An utterly delicious ice cream topping.
Have you ever ordered a chocolate dip cone at an ice cream shop or used homemade shell topping from the grocery store? Well, Family Fun hasan easy recipe for a homemade version that is not only scrumptious, but easy and made with items I keep on hand. Homeschoolers can point out the science, too: how our coconut oil is liquid at high temperatures but solid when cool, so mixing that with chocolate helps give us that thin coat that hardens on contact with ice cream.
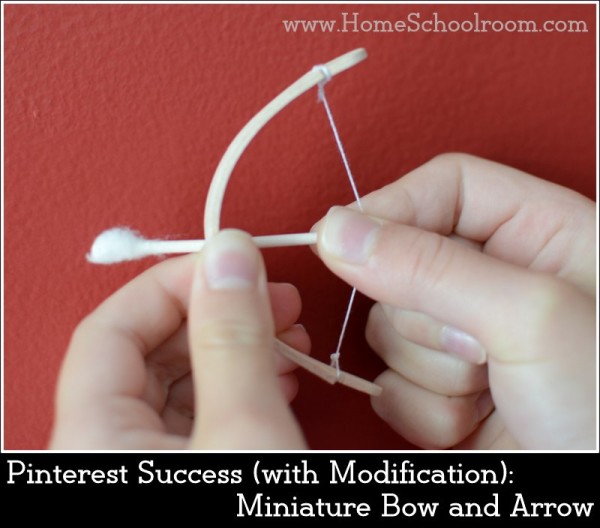
Project #2: Mini Bow and Arrow Craft
My son has been wanting to make this miniature bow and arrow for months, so this challenge prompted us to give it a try. Following the directions exactly our first attempt was fun but needed some tweaks to really work well.
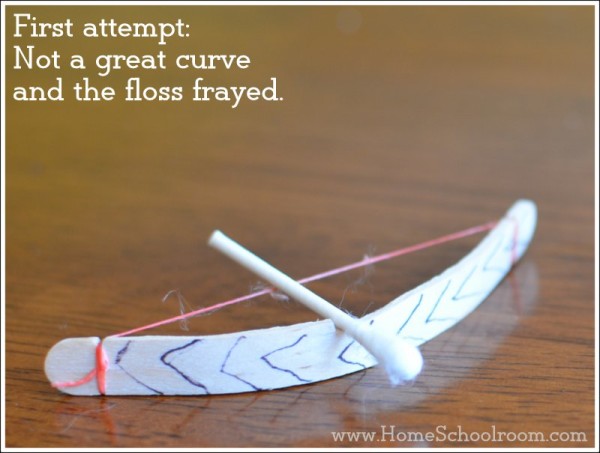
We didn’t get a great bend in our popsicle stick–it was hard to hold the tension on the curve of the wet stick while tying floss. Also the floss was not durable–it stretched over time (losing even more of the bend in our stick) and began fraying with use. Maybe I buy cheap floss? The coating also made their fingers sticky and scented.
I remembered another pin I have for making bracelets from popsicle sticks, so I used the directions there. You soak the sticks, put them inside a glass to form the arch, and allow them to dry there.
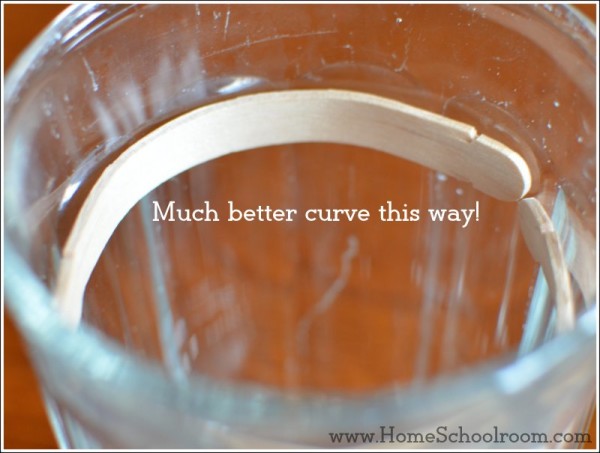
This gave us a beautiful bow that kept its shape (even now, a couple weeks later). My second tweak was to skip the fraying floss and use a stronger string. In our case I used craft thread. This made a more durable bow and led to quite a bit of fun with target practice and experimenting for the kids.
Project #3: Pizza Box Solar Oven
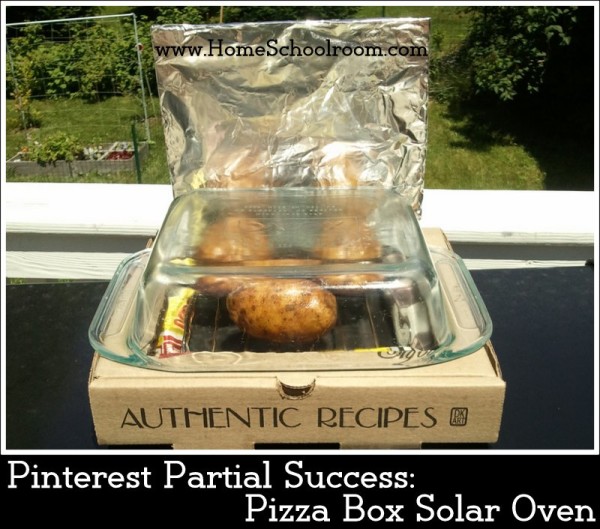
I’ve been wanting to try a solar oven forever! I used instructions from Home Science Tools; they even have a PDF with recipes to try. I followed the instructions as closely as I could. I built up quite a bit of heat (175 degrees was the highest) and my potato was hot, but not fully cooked.
I see a couple reasons for my failure:
- I chose a tricky food for my first try, I think–a baked potato. Unlike hot dogs or s’mores that many solar oven recipes prepare, you need some serious heat over a long period of time to bake a potato. But hey, I’m never one to take the easy way out.
- I had a couple small openings behind the glass pan that allowed heat to escape. Plan: Block any place air can exit!
- I had three potatoes, which created a lot of thermal mass for a small oven to heat. This site has wonderful information about the science and history behind solar ovens. I’ll try with one potato next time.
- I didn’t have enough time–I started around noon and then didn’t check on it the last hour so it ended up being in full shade when I checked at 5 o’clock. I lost valuable cooking time! Next time I’ll start earlier and remember to check frequently.
Like I said, I’m not giving up yet! In fact, I love that this didn’t work the first try. It gives me a chance to model for my kids “If at first you don’t succeed, try, try again.” They were very skeptical so now I’m determined to show them that we can bake a potato using power from the sun!
If you’re looking for more ideas for your homeschool or fun with your kids, visit my Pinterest boards. Do you like using Pinterest to organize ideas? And do you often get a chance to go back and actually do those wonderful activities?
Pop over to iHomeschool Network to visit other bloggers who tried out some of the projects sitting on their Pinterest boards.

 Hi, I'm Heidi and I homeschool my two sweet kids. I want them to know that learning is an exciting lifelong adventure! We love great books, unit studies, notebooking, lapbooking, and hands-on learning.